Chariot
0
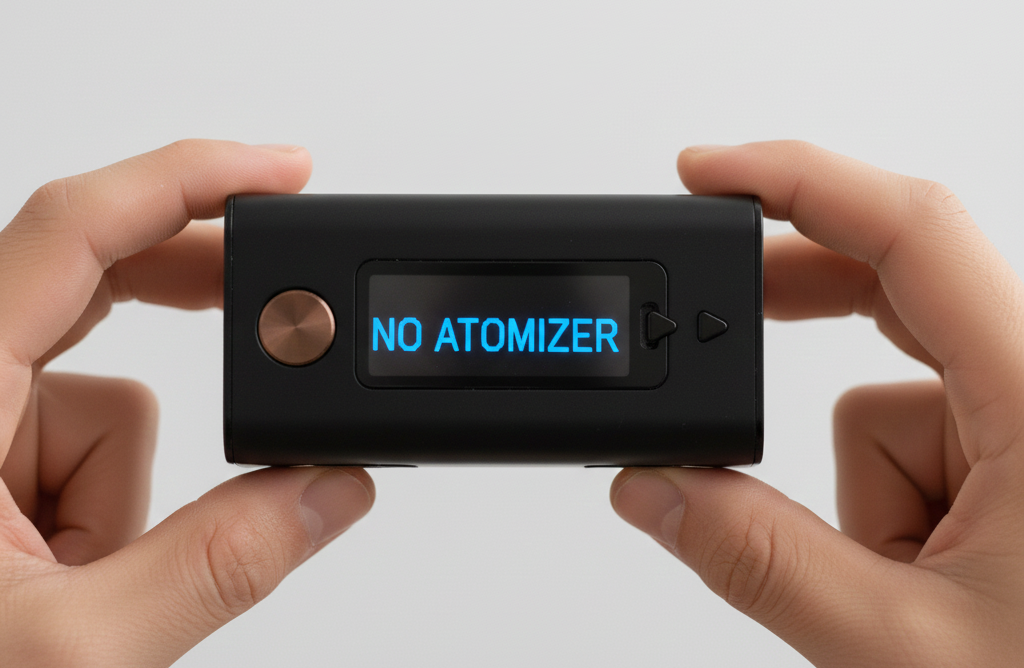
When your device shows a “No Atomizer” or “Check Atomizer” message, it means the mod cannot detect the tank, pod, or coil. The vape and atomizer are not communicating through the connection point, so the device cannot heat your e-liquid. This error is common with vape mods, pod systems, and rebuildable tank atomizers. The fix usually involves cleaning, tightening, or adjusting simple components.
Below is a step-by-step guide to help you understand what causes a no-atomizer message and how to safely fix it at home:
What Is An Atomizer In A Vape?
An atomizer is the hardware that heats vape juice into vapour. It includes the coil, wick, and housing inside your tank or pod. When power comes from the battery, the vape coil warms up and vaporizes the e-liquid. If the mod cannot detect the atomizer head or the atomizer is not connected properly, you will see an atomizer error.
In most vape tanks and pod systems, the atomizer sits at the base of the tank or inside the pod. A new coil or removable coil must make solid contact with the metal connection points in order to work. A loose connection, a misaligned pin, or a buildup on the base can interrupt that signal.
Different styles of atomizers exist. However, they all serve the same purpose. Traditional coils use cotton wicks that absorb e-liquid, while mesh coils offer a larger heating surface for more consistent vapour production. Pod systems often use integrated coils, while vape mods paired with larger tanks allow for removable coils that screw directly into the base of the tank.
Some advanced users choose rebuildable tank atomizers, which require the coil to be installed manually and secured with post screws. Regardless of the format, the device must detect the coil’s resistance before it can send power through the atomizer. Any disruption in that contact can trigger a no-atomizer message.
Why Does My Vape Say No Atomizer, Or Check Atomizer?
There are several possible reasons for this error. Common causes include:
-
A coil that is not screwed in properly
-
A tank or pod that is not fully seated
-
A poor connection between the 510 connection and the mod
-
A damaged pin or contact point
-
A faulty coil
-
E-liquid that is leaking into the base of the tank
-
Debris on the connection points
-
Resistance that is not being detected correctly
In short, the device cannot detect the atomizer. The power flow from the battery to the coil is interrupted. That is why the screen shows a check atomizer message or the same message repeatedly when you try to fire the device. Even a small amount of liquid or a slightly misaligned pin can block that electrical signal. This makes the mod think no atomizer is attached, even when the tank or pod is connected.
How To Fix A No-Atomizer Error
Most of the time, you can fix a no-atomizer message at home with a quick cleaning, a new coil, or a small adjustment. The steps below apply to vape mods, pod systems, rebuildable tank atomizers, and standard tanks:
Step 1: Isolate The Issue
Start by narrowing down where the connection issue is happening:
-
Remove the tank or pod from the device.
-
Check whether the screen still shows an atomizer message.
-
Try another tank on the mod if you have one.
-
Try your tank on a different device.
This tells you whether the issue is coming from the mod, the tank, or the vape coil.
If the tank works on another device, the problem is the mod’s pin or 510 connection. If the mod works with another tank, the problem is inside your tank or pod.
Step 2: Check & Clean The Tank
A no-atomizer message often appears because the connection is blocked by liquid, lint, dust, or residue. Cleaning is one of the easiest ways to fix a no-atomizer issue.
-
Disassemble the tank or pod
Take off the base of the tank, remove the coil, and inspect every part. -
Clean the contacts
Use a cotton swab, cotton bud, or paper towel to remove e-liquid from the base of the tank and the metal contacts. The connection must be dry and clean. -
Inspect for buildup
Look for dried e-liquid, dark spots, or excess residue that could block the signal between the coil and the mod. -
Reassemble the tank
Screw the coil in tightly. A loose connection can trigger a no-atomizer message instantly. -
Check the O-rings
Damaged O-rings can cause leaking, which can interrupt the connection between the coil and the device.
Cleaning the base of the tank and the coil contacts often resolves the error right away.
Step 3: Adjust The Contact Point
The contact point, sometimes called the 510 pin, sits at the top of your vape mod. It touches the gold-plated pin at the base of the tank. If those connection points do not touch properly, the mod cannot detect the atomizer.
Try the following:
-
Gently pull the pin upward using a tool with a soft tip.
-
Ensure the connected tank sits flush on the mod.
-
Check for any metal debris around the pin.
-
Make sure the mod’s pin moves freely, as some are spring-loaded.
If the mod uses post screws (common in rebuildable tank atomizers), ensure the coil legs are secured properly, and the screws are not loose.
Device-Specific Fixes
Some devices have common patterns behind atomizer errors. Here is what to look for by brand:
Caliburn G3
A Caliburn G3 pod must click firmly into place. If the pod is not seated fully, the device will not detect resistance. Dry the pod base with a paper towel and clean the contact points. If the coil is built into the pod, replacing the pod may also clear the atomizer message.
Smok Devices
On Smok Devices, no-atomizer errors often appear when the coil is not tightened enough. Remove the coil, dry the base, and screw it back in until snug. Also, inspect the 510 connection for juice seepage.
Geekvape
Geekvape mods use a robust 510 connection. However, liquid buildup inside the tank can still prevent detection. Clean the base carefully and ensure the tank is screwed in straight. If you use rebuildable tank atomizers on Geekvape mods, double-check post screws.
OXVA
OXVA pod systems rely on very precise contact between the coil and the device. Clean the pod base thoroughly. Any liquid film can break the connection. If the error continues, try a new pod or a new coil.
Still Seeing No Atomizer? Consider Replacing Your Vape
If you continue to see a check atomizer message after cleaning, tightening, adjusting, and testing different coils, the device may have a hardware issue. Over time, the 510 pin can wear down, internal wiring can loosen, or the vape mod may no longer detect resistance accurately.
When repairs are not possible, replacing the vape, tank, or pod becomes the simplest option. Seasonal temperature changes, drops, and general wear can slowly affect connection points inside any e-cigarette device.
If you want help choosing a replacement or learning which tanks, pods, or vape coils match your device, you can always speak with staff at a Winnipeg vape store for guidance.